Tips & Procedures
In a previous column we discussed some basic tools and supplies that the budding mechanical enthusiast should have at close reach if deciding to tackle some of their own basic maintenance chores. We talked about tools you will need and other supplies that we use daily here in our shop. Now, let’s walk through a simple job and take the opportunity to show you some tips and tricks along the way. A great spring (or preferably fall) job that most riders may wish to tackle themselves is an oil change. Before you begin, or even look at the bike, ensure you have the following: New oil! This may sound overly obvious, but check your manual for the proper oil type, viscosity and amount of oil. We won’t go down the ‘which oil is best’ road today as that takes a whole column but use a high-quality oil recommended for your bike. 4 litres is almost always more than enough for a motorcycle engine. Get a high-quality filter. We have had mixed success with aftermarket filters leaking, so your safest bet with an oil filter is to make sure it has the same name on the filter as it does on your bike! The oil drain bolt has a soft copper or aluminum washer on it that usually ends up in the oil pan submerged in waste oil. Many, many times we have seen this washer get forgotten and not replaced. They are worth about $1.00 and will ensure your drain bolt doesn’t leave little oil puddles everywhere you park… Change it. If you are at your dealer getting filters, order 10 copper drain bolt washers, that will last you for years! NOW you are ready to begin.
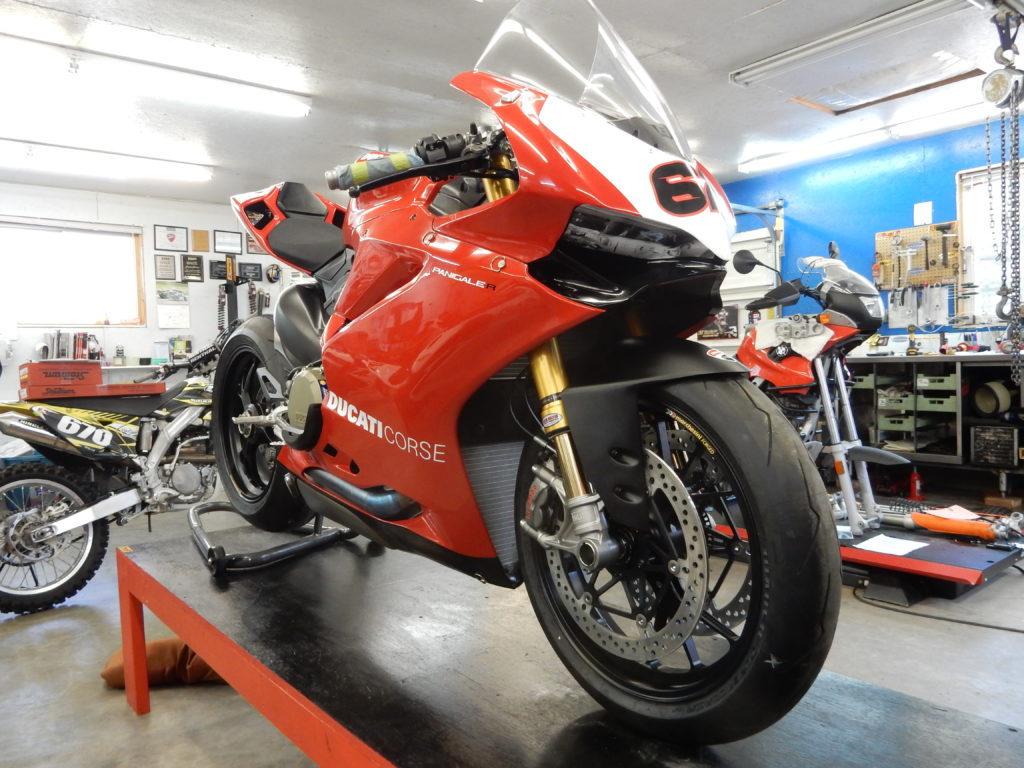
With the bike somewhere clean and safe, we elevate the rear onto our rear stand that we talked about and bought last month. This holds the bike upright AND gives you a touch more room under it for the oil pan. Some bikes require removal of the bodywork, others don’t. A quick peek under the bike will confirm if you need to remove the bodywork or not to gain access to the drain bolt and the filter. We almost always remove the bodywork as experience has taught us it just makes the job easier AND gives you the opportunity to clean the bike and look it over for loose or missing fasteners, leaks, or any other issues that may need attention. Let’s remove the bodywork for the practice. We use large cookie sheets to retain our tools and keep a tidy work area. I hate expensive tools laying on the ground and even though we try to keep a clean floor, nice ratchets and wrenches don’t appreciate dust and grit. A second cookie sheet can hold all your fasteners and keep them organized, so they don’t go AWOL during the job. This is also invaluable for the newer mechanical enthusiast to confirm all bolts are accounted for at the end of the job and you don’t have any dreaded ‘extra bolts’!
Rarely we see a drain bolt positioned in the bottom of the oil pan on the left side designed to drain best with the bike on the side stand, but we have seen it. Hopefully your bike will drain best vertically but keep an eye out for this. The oil drains best when warm, as it flows out better, and most of the contamination is suspended in the oil and not settled out in all the low spots in the pan. We also buy latex gloves and use them constantly on most jobs in the shop. Whether it is a fork service, shock service or engine work, waste oil is a proven carcinogen and we all know our skin is a porous membrane, wear gloves. Latex gloves will also offer slight protection from the heat of the oil. Use common sense here, engine oil can get scalding hot, so best to plan your oil change after a short ride or warm up, and not a wide-open run across the desert in July. So, with the engine off and your drain pan under the bike, you can remove the oil drain bolt. On a bike with an oil pan (we discussed pans two issues ago), the drain bolt will be a fairly obvious bolt at the lowest point of the pan, usually with a visible copper washer under it. Carefully and slowly remove it as hot oil will come pouring out. If your bike has a dry sump design with no oil pan, there will be a drain bolt on the bottom of the engine, but it will be far less obvious, and a second drain bolt on the bottom of your oil tank located elsewhere on the bike. Some bikes use the frame as an oil reservoir, if so, there will be a drain bolt at the lowest point. With the pan or tank draining, I take a second oil drain pan and slide it under the filter. The same pan usually isn’t large enough to capture both. A filter wrench (discussed last month), a cloth strap wrench, or the big ugly oil filter pliers that look like a Trex’s mouth will all get the old filter off, if it is a spin on style. Ensure the encapsulated o-ring comes off the bike with the old filter, as sometimes they stick and stay. I saw a crash at a track day caused from a leaky oil filter with two o-rings tangled up where there should have been only one. Some bikes have their filter inside the engine covered with a three-bolt cap and o-ring assembly, check your manual if it isn’t obvious. Time permitting, I let it drain for about an hour. For fun, I will lower it off the rear stand and watch the oil pans and then carefully tip it left and right while watching for changes in the oil draining speed. I just want to get as much of the old dirty oil out of that bike as possible!
After waiting, tipping and wiggling assures you that most of the oil is out, I take a rag and carefully clean the gasket surface of the oil drain bolt, the spin on filter, and the drain bolt itself, especially the mating surface where your new washer is going to go. Thread the drain bolt in and tighten it to its torque spec with the new washer in place. Remember the pan or motor will have aluminum threads, so tighten carefully. I then fill the oil filter with your new fresh oil a few times as it will absorb a fair bit of oil and install it. I continue to gently spin it as I align it in place as this keeps your new oil from pouring out. Tighten the oil filter as directed from the filter literature or your manual. It is usually ¾-1 full turn after o-ring contact. Now you can fill the bike with the recommended amount of oil. I like to disconnect the crank position sensor or the power to the fuel pump, so the bike doesn’t start and turn it over for a few bursts of 10 seconds or so. If you watch, you will see the oil level go down during this priming cycle as the oil pickup and pump re fill with the new oil. When the oil level stops going down, I know I am good to hook up the sensor or pump lead and fire it up. Let it idle for 30 seconds or so, shut it off and recheck the level and check the bolts and filter for leaks. Clean and replace your bodywork, clean and put away your tools, check for extra bolts, jot down the mileage in your notes or manual and you are done!