What is a Slipper Clutch?
We discuss how a basic Motorcycle clutch is assembled and how it operates. This is the first article before discussing Slipper Clutches
I was recently asked about Slipper clutches, or back torque limiting clutches to be exact. The person asking was pondering the best location for his limited budget and trying to decide whether a slipper clutch was a good addition. He then proceeded to ask me what a slipper clutch was and how did it work…
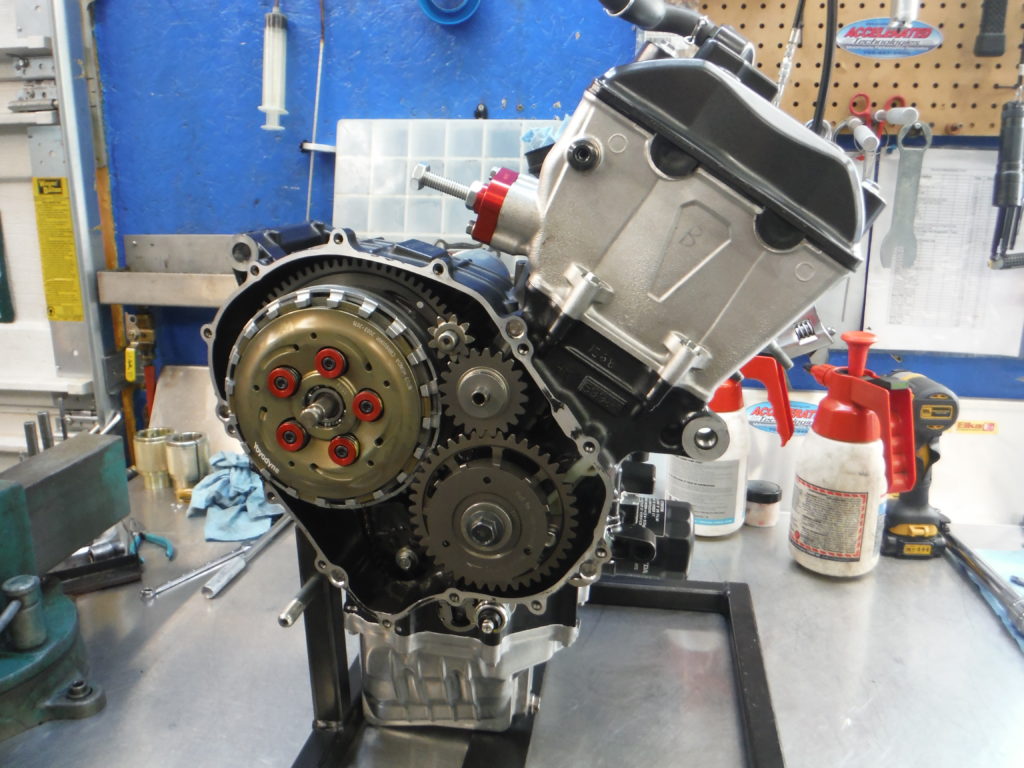
Lets look at a quick explanation of how a typical motorcycle clutch operates, whether it resides in a motocross bike, a cruiser, or a sport bike, they are mostly all the same. The clutch resides under your right hand side engine cover, located on your transmission’s input shaft and divided up into roughly 5 different pieces. The first, largest and most complex piece of the clutch puzzle is your outer clutch basket, it looks like the bottom of a huge soup can 3-5” in diameter and about 2-3” high with the upright edge of the can cast into 10 or so fingers. The outer clutch basket is a mix of aluminum around the fingers, which is lightly riveted to the bottom section, which is steel. This steel portion is allowed to twist about 5 degrees either way from the aluminum portion to take up driveline shock. If you lay the basket fingers down on a workbench, you can see how the two halves are allowed to twist in the rivets, compressing springs either way. There are usually 6 springs, three to take positive engine pulses (they may be slightly heavier springs) and three to take deceleration pulses. While the clutch is in this position, you will notice that the very inside of the basket where it slides onto the transmission’s input shaft is perfectly smooth with maybe some slight grooves to allow for oil flow. This is an important observation because this basket doesn’t turn the transmission shaft; it is allowed to spin freely on it. Around the very outside of the outer clutch basket you will find a heavy gear (your primary drive gear) that engages right onto the end of your crankshaft when you slide the basket onto the transmission input shaft. This gear is usually ‘straight’ cut, but I have seen them angle cut too, with the only problem being that this design pulls the basket into the side of the motor when the crank accelerates adding quite a bit of extra side load that can accelerate bearing wear. What is more common especially on Hondas, is to see a very small gear, maybe 5mm thick laying right up against the primary drive gear with it’s teeth offset exactly midway between the primary drive gears much larger teeth. This small gear will move to one side or straighten out as you engage the basket, squeezing a separate bunch of springs in the process. Why all this extra work you may ask? To help eliminate primary drive lash, as the amount of lash or play in your primary drive system (the gear on the crank and the big gear around your clutch basket) is directly related to how loud your engine is. There has to be clearance there to allow for thermal expansion and free gear rotation, but too much play and your engine will rattle when not under load. Remember, your engine gives you power in explosive hits every time a plug fires, the system that smoothes out these hits is the summation of the springs in the back of your clutch basket, lash in all your gears, play in your drive chain or belt, the cush drive inside your back tire between the wheel and sprocket, and the rubber that your rear tire is made up of. So now that your clutch outer basket is slid onto your transmission shaft (free to spin on a needle bearing arrangement) and the main outer primary drive teeth are engaged onto your crankshaft, you can see how the engine spins this outer clutch basket in no uncertain terms, but doesn’t spin your transmission at all.
Now lets assemble the clutch, the first piece to go inside the outer basket is a separating washer, then your inner clutch hub. This aluminum clutch hub resembles a top hat, the brim of the hat is machined very smooth to work against your first friction plate, while the sides of your hat are grooved up and down to accept your metal plates. Important to remember, that this inner clutch hub bolts onto the transmission shaft tight and spins with it, not on it like the outer basket. Now, all the magic happens right here… You slide in your first friction plate with its fingers located into your outer basket until it bottoms up against your inner clutch hub, then you slide in a metal plate that is located into the grooves of your inner clutch hub, and then you continue staggering friction, metal, friction, metal and so on, repeating (depending on the horsepower of your bike), to a total of between 12 and 18 or so plates.
Now, play with it a bit until it becomes clear; as the engine turns (use a socket wrench, not the starter!) it turns your outer clutch basket (again, called your primary drive), which turns all your friction plates. You will notice that the inner clutch hub and all the metal plates staggered between the friction plates are not spinning; they are motionless on the transmission shaft. Now (with engine in gear and rear tire off the ground on a bike stand) with your left hand spin the back tire… You will see the transmission shaft and the inner clutch hub spinning, turning all the metals between the frictions. This spinning relationship is what is going on when the engine is running, the bike is in gear and you are holding the clutch lever in, disengaging the clutch. Now, with the bike still in gear, spin the crankshaft (which will again spin the outer basket and frictions but not the inner hub with its metals) but now use a finger and gently push on the outermost plate, which will sandwich the plates together mimicking you letting out the clutch lever and engaging the clutch. You will hear the rubbing between the frictions and the metals get louder until the back tire starts to spin, press hard enough and you will physically connect the back tire to the motor just like during full engagement. Now you know how the clutch operates, we will look at how the clutch lever does this for you, and then how we fit a pair of slippers in there!